How To Render Razor View To String
This post is a continuation of the last post I wrote couple of days ago about How To Send E-mail In ASP.Net Core Using Mailkit.
From the last post, we were able to send a successful e-mail using MailKit with no problem. Therefore, in this post I’m going to cover how to use the RazorViewEngine to render Views, and get the string content to be used as an email template.
Since we’ll be using the same solution, let’s download it from github first and make sure it’s build properly.
Add HTML View Template
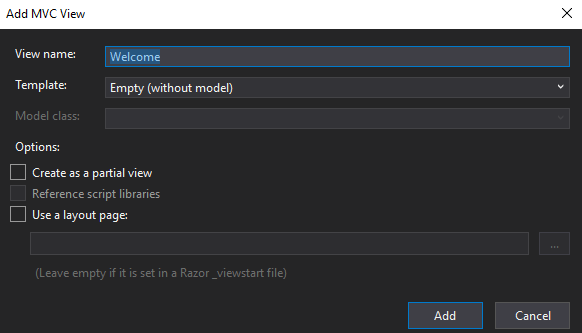
First we’ll need to add a new view called “Welcome” as shown below.
Next, we’ll use the following html as the template for the email. If you are planning on using this template for more than one type of emails, the best thing would be to create a layout and use that with the views. But since this is just to demonstrate how to render the view into a string to send the html content we’ll keep it simple with just welcome view.
<!DOCTYPE html PUBLIC "-//W3C//DTD XHTML 1.0 Transitional//EN" "http://www.w3.org/TR/xhtml1/DTD/xhtml1-transitional.dtd"> <html xmlns="http://www.w3.org/1999/xhtml"> <head> <meta http-equiv="Content-Type" content="text/html; charset=UTF-8" /> <title>Demystifying Email Design</title> <meta name="viewport" content="width=device-width, initial-scale=1.0" /> </head> <body style="margin: 0; padding: 0;"> <table align="center" cellpadding="0" cellspacing="0" width="1200"> <tr> <td align="center" style="padding: 40px 0 30px 0; background-color:cadetblue"> <img decoding="async" src="https://pngimage.net/wp-content/uploads/2018/06/sample-logo-png-transparent-background-4.png" alt="Creating Email Magic" width="300" height="230" style="display: block; text-align:center" /> </td> </tr> <tr> <td bgcolor="#ffffff"> <table cellpadding="0" cellspacing="0" width="100%"> <tr> <td width="260" valign="top"> <h3>How to get more customers online?</h3> <p> <img decoding="async" src="https://www.tibco.com/blog/wp-content/uploads/2014/09/shutterstock_1674174502.jpg" /> Lorem ipsum dolor sit amet, consectetur adipiscing elit. Sed eget orci rhoncus, iaculis nulla vel, lobortis neque. Vivamus sodales dui eu ante aliquet, eu venenatis nisi vehicula. Donec id sollicitudin diam. Vivamus sodales odio in consectetur ultricies. Vestibulum sollicitudin id lectus quis sollicitudin. Sed lorem neque, tincidunt ut risus ac, aliquam laoreet lectus. Proin dictum risus volutpat, tincidunt elit sit amet, ornare lacus. Pellentesque et purus eu est aliquam dignissim. Donec commodo semper mauris sit amet ultricies. Cras et hendrerit elit, at interdum nulla. Ut at varius est. Aenean luctus interdum lorem ac dignissim. </p> </td> <td style="font-size: 0; line-height: 0; border-left:solid 4px; color:#e5e4e4" width="20"> </td> <td width="260" valign="top"> <h3>How to attract new customers?</h3> <p> <img decoding="async" src="https://biz-architect.com/wp-content/uploads/2016/05/Customers.png" /> Lorem ipsum dolor sit amet, consectetur adipiscing elit. Sed eget orci rhoncus, iaculis nulla vel, lobortis neque. Vivamus sodales dui eu ante aliquet, eu venenatis nisi vehicula. Donec id sollicitudin diam. Vivamus sodales odio in consectetur ultricies. Vestibulum sollicitudin id lectus quis sollicitudin. Sed lorem neque, tincidunt ut risus ac, aliquam laoreet lectus. Proin dictum risus volutpat, tincidunt elit sit amet, ornare lacus. Pellentesque et purus eu est aliquam dignissim. Donec commodo semper mauris sit amet ultricies. Cras et hendrerit elit, at interdum nulla. Ut at varius est. Aenean luctus interdum lorem ac dignissim. </p> </td> </tr> </table> </td> </tr> <tr> <td style="background-color:#b4b2b2"> <table cellpadding="0" cellspacing="0" width="100%"> <tr> <td style="color: #ffffff; font-family: Arial, sans-serif; font-size: 14px;"> ® Company, Copyright 2019<br /> <a href="#" style="color: #ffffff;"><font color="#ffffff">Unsubscribe</font></a> to this newsletter instantly </td> <td> <table border="0" cellpadding="0" cellspacing="0"> <tr> <td> <a href="http://www.twitter.com/"> <img decoding="async" src="http://assets.stickpng.com/thumbs/580b57fcd9996e24bc43c53e.png" alt="Twitter" width="38" height="38" style="display: block;" border="0" /> </a> </td> <td style="font-size: 0; line-height: 0;" width="20"> </td> <td> <a href="http://www.Facebook.com/"> <img loading="lazy" decoding="async" src="http://www.transparentpng.com/thumb/facebook-logo-png/background-facebook-logo-5.png" alt="Facebook" width="38" height="38" style="display: block;" border="0" /> </a> </td> </tr> </table> </td> </tr> </table> </td> </tr> </table> </body> </html>
Now that we have the view in place, make sure to add the action method for that view in the home controller class as shown below.
      public IActionResult Welcome()
        {
            return View();
        }
Add helper to render view into string
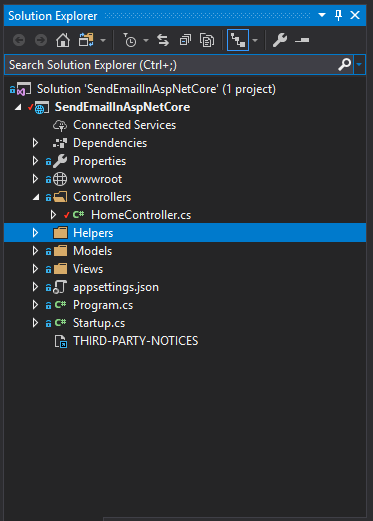
- Right click on the solution and add a new folder called “Helpers”
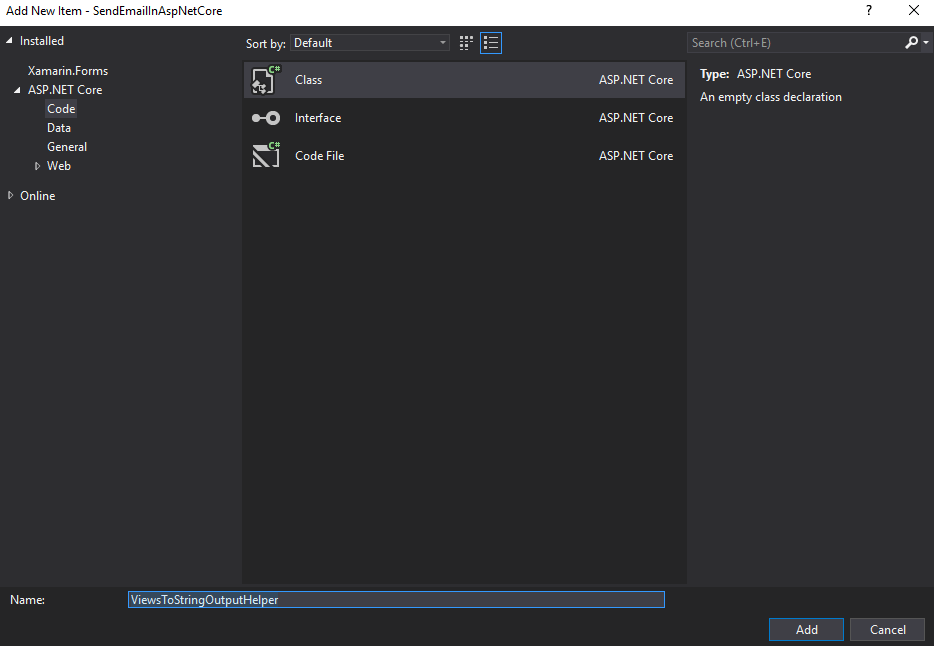
- Next, let’s add a new class called “ViewsToStringOutputHelper.cs” and copy and paste the following code snippet into it.
using Microsoft.AspNetCore.Mvc;
using Microsoft.AspNetCore.Mvc.Rendering;
using Microsoft.AspNetCore.Mvc.ViewEngines;
using Microsoft.AspNetCore.Mvc.ViewFeatures;
using System.IO;

namespace SendEmailInAspNetCore.Helpers
{
    public class ViewsToStringOutputHelper
    {
        public static string RenderRazorViewToString(Controller controller, string viewName, object model)
        {
            controller.ViewData.ModelState.Clear();
            controller.ViewData.Model = model;

            using (var sw = new StringWriter())
            {
                ViewEngineResult viewResult = null;
                var engine = controller.HttpContext.RequestServices.GetService(typeof(ICompositeViewEngine)) as ICompositeViewEngine;

                viewResult = engine.FindView(controller.ControllerContext, viewName, false);

                var viewContext = new ViewContext(controller.ControllerContext, viewResult.View, controller.ViewData, controller.TempData, sw, new HtmlHelperOptions());
                viewResult.View.RenderAsync(viewContext);

                return sw.GetStringBuilder().ToString();
            }
        }
    }
}
Render the view into a string
- Next, let’s modified the Contact action method to use the new helper to render the view into a string.
- First, I need a new variable for the email body string object and another flag to determine whether to use the email template or not
string emailBody = string.Empty; bool useEmailTemplate = false; - Then, let’s add a new condition to determine if we should use the template or not as shown below
                    if (useEmailTemplate)
                    {
                        emailBody = ViewsToStringOutputHelper.RenderRazorViewToString(this, "Welcome", null);
                    }
                    else
                    {
                        emailBody = contactViewModel.Message + " Message was sent by: " + contactViewModel.Name + " E-mail: " + contactViewModel.Email;

                    }
                    message.Body = new TextPart(TextFormat.Html)
                    {
                        Text = emailBody
                    };
Sending a new email using a rendered view to string template
- First, we’ll send an email with the useEmailTemplate flag set to false and then another with it set to true. As you can see below, the new html template indeed used in the second email.