In Sendgrid there are 3 different types of API keys that you can generate to use in your application. Which one to use depends on your requirements need. Therefore, in this post I am going to show how to setup a simple restricted API key to be used on my next e-mail demo.
Types of API KEYS Available
- Full Access which allows the API key to access GET, PATCH, PUT, DELETE and POST endpoints for all parts of your account, excluding billing and Email Address Validation.
- Restricted Access, this is a customized type where you can set levels of access for all parts of your account, excluding billing and Email Address Validation.
- Billing Access which allows the API key to access billing endpoints for the account.
Steps to create new Sendgrid API Key
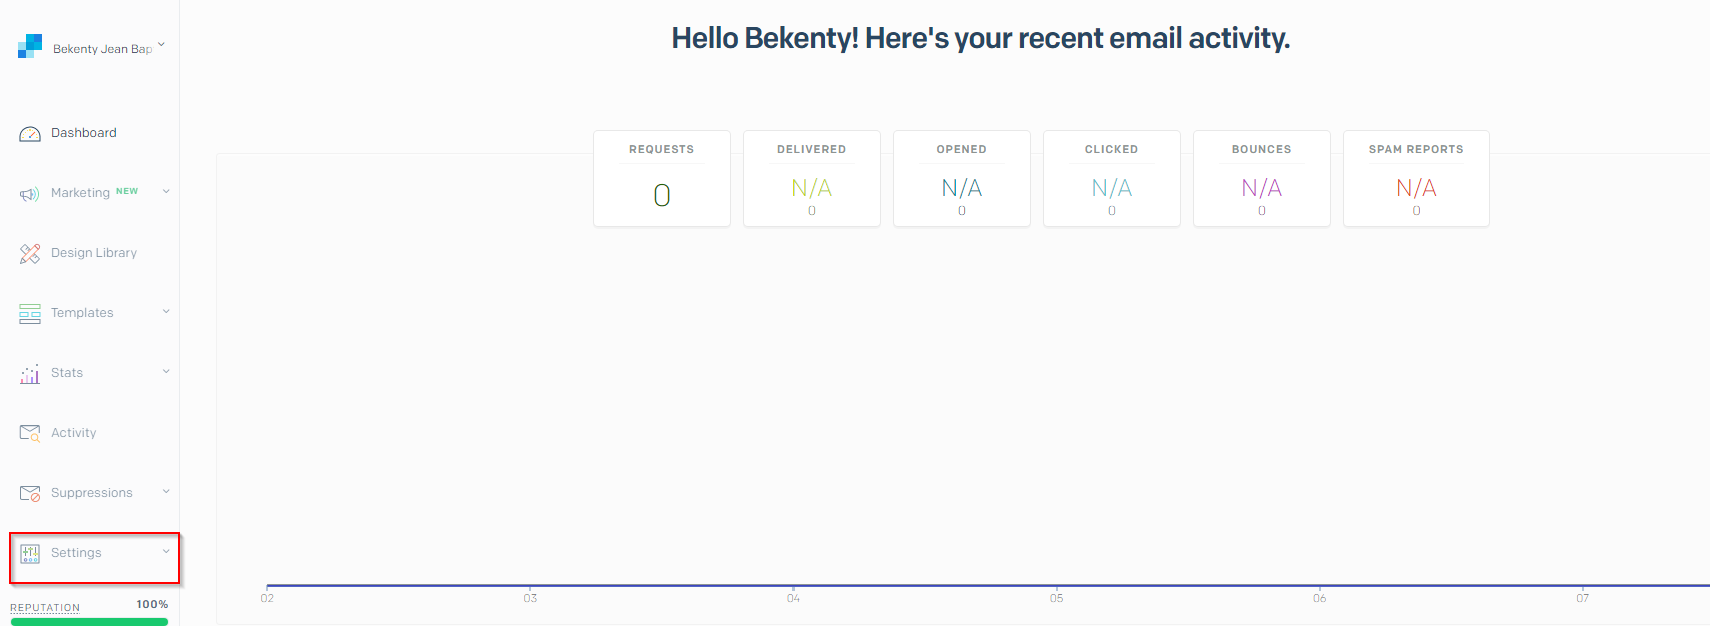
- First, you need to head over to Sendgrid.com and create an account. Once you log into the application, it will take you to the dashboard area. Click on Setting on the left pane to expand it.
- Next, click on the “API KEY” as shown below. That will open the page to allow you to create a new API KEY.

- Now, click on the “Create API Key” button at the top right corner, it will open the 3 types of API Key to select and the different options you need to setup.

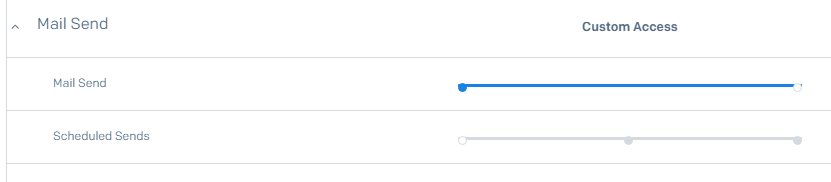
- For the purpose of this tutorial, I am going to set this key for sending email only.
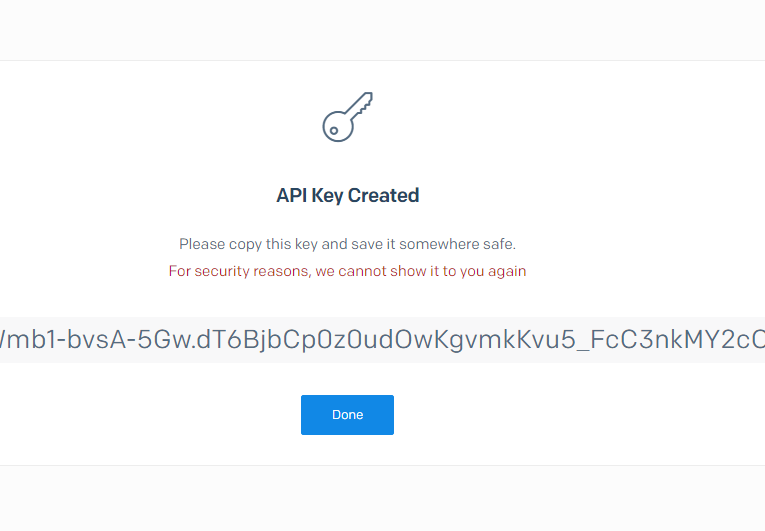
- Once you’re done you will get a key. The API KEY generated and displayed to you just once. So be sure to copy and save it somewhere. After that only the subset key is displayed.
Last, some notes to keep in mind.
Sendgrid only allows 100 keys per account.
Once you delete a key, it can no longer be used to access SendGrid’s services.